Crocheted Rocket
veröffentlicht von Daniela, 1 Kommentar
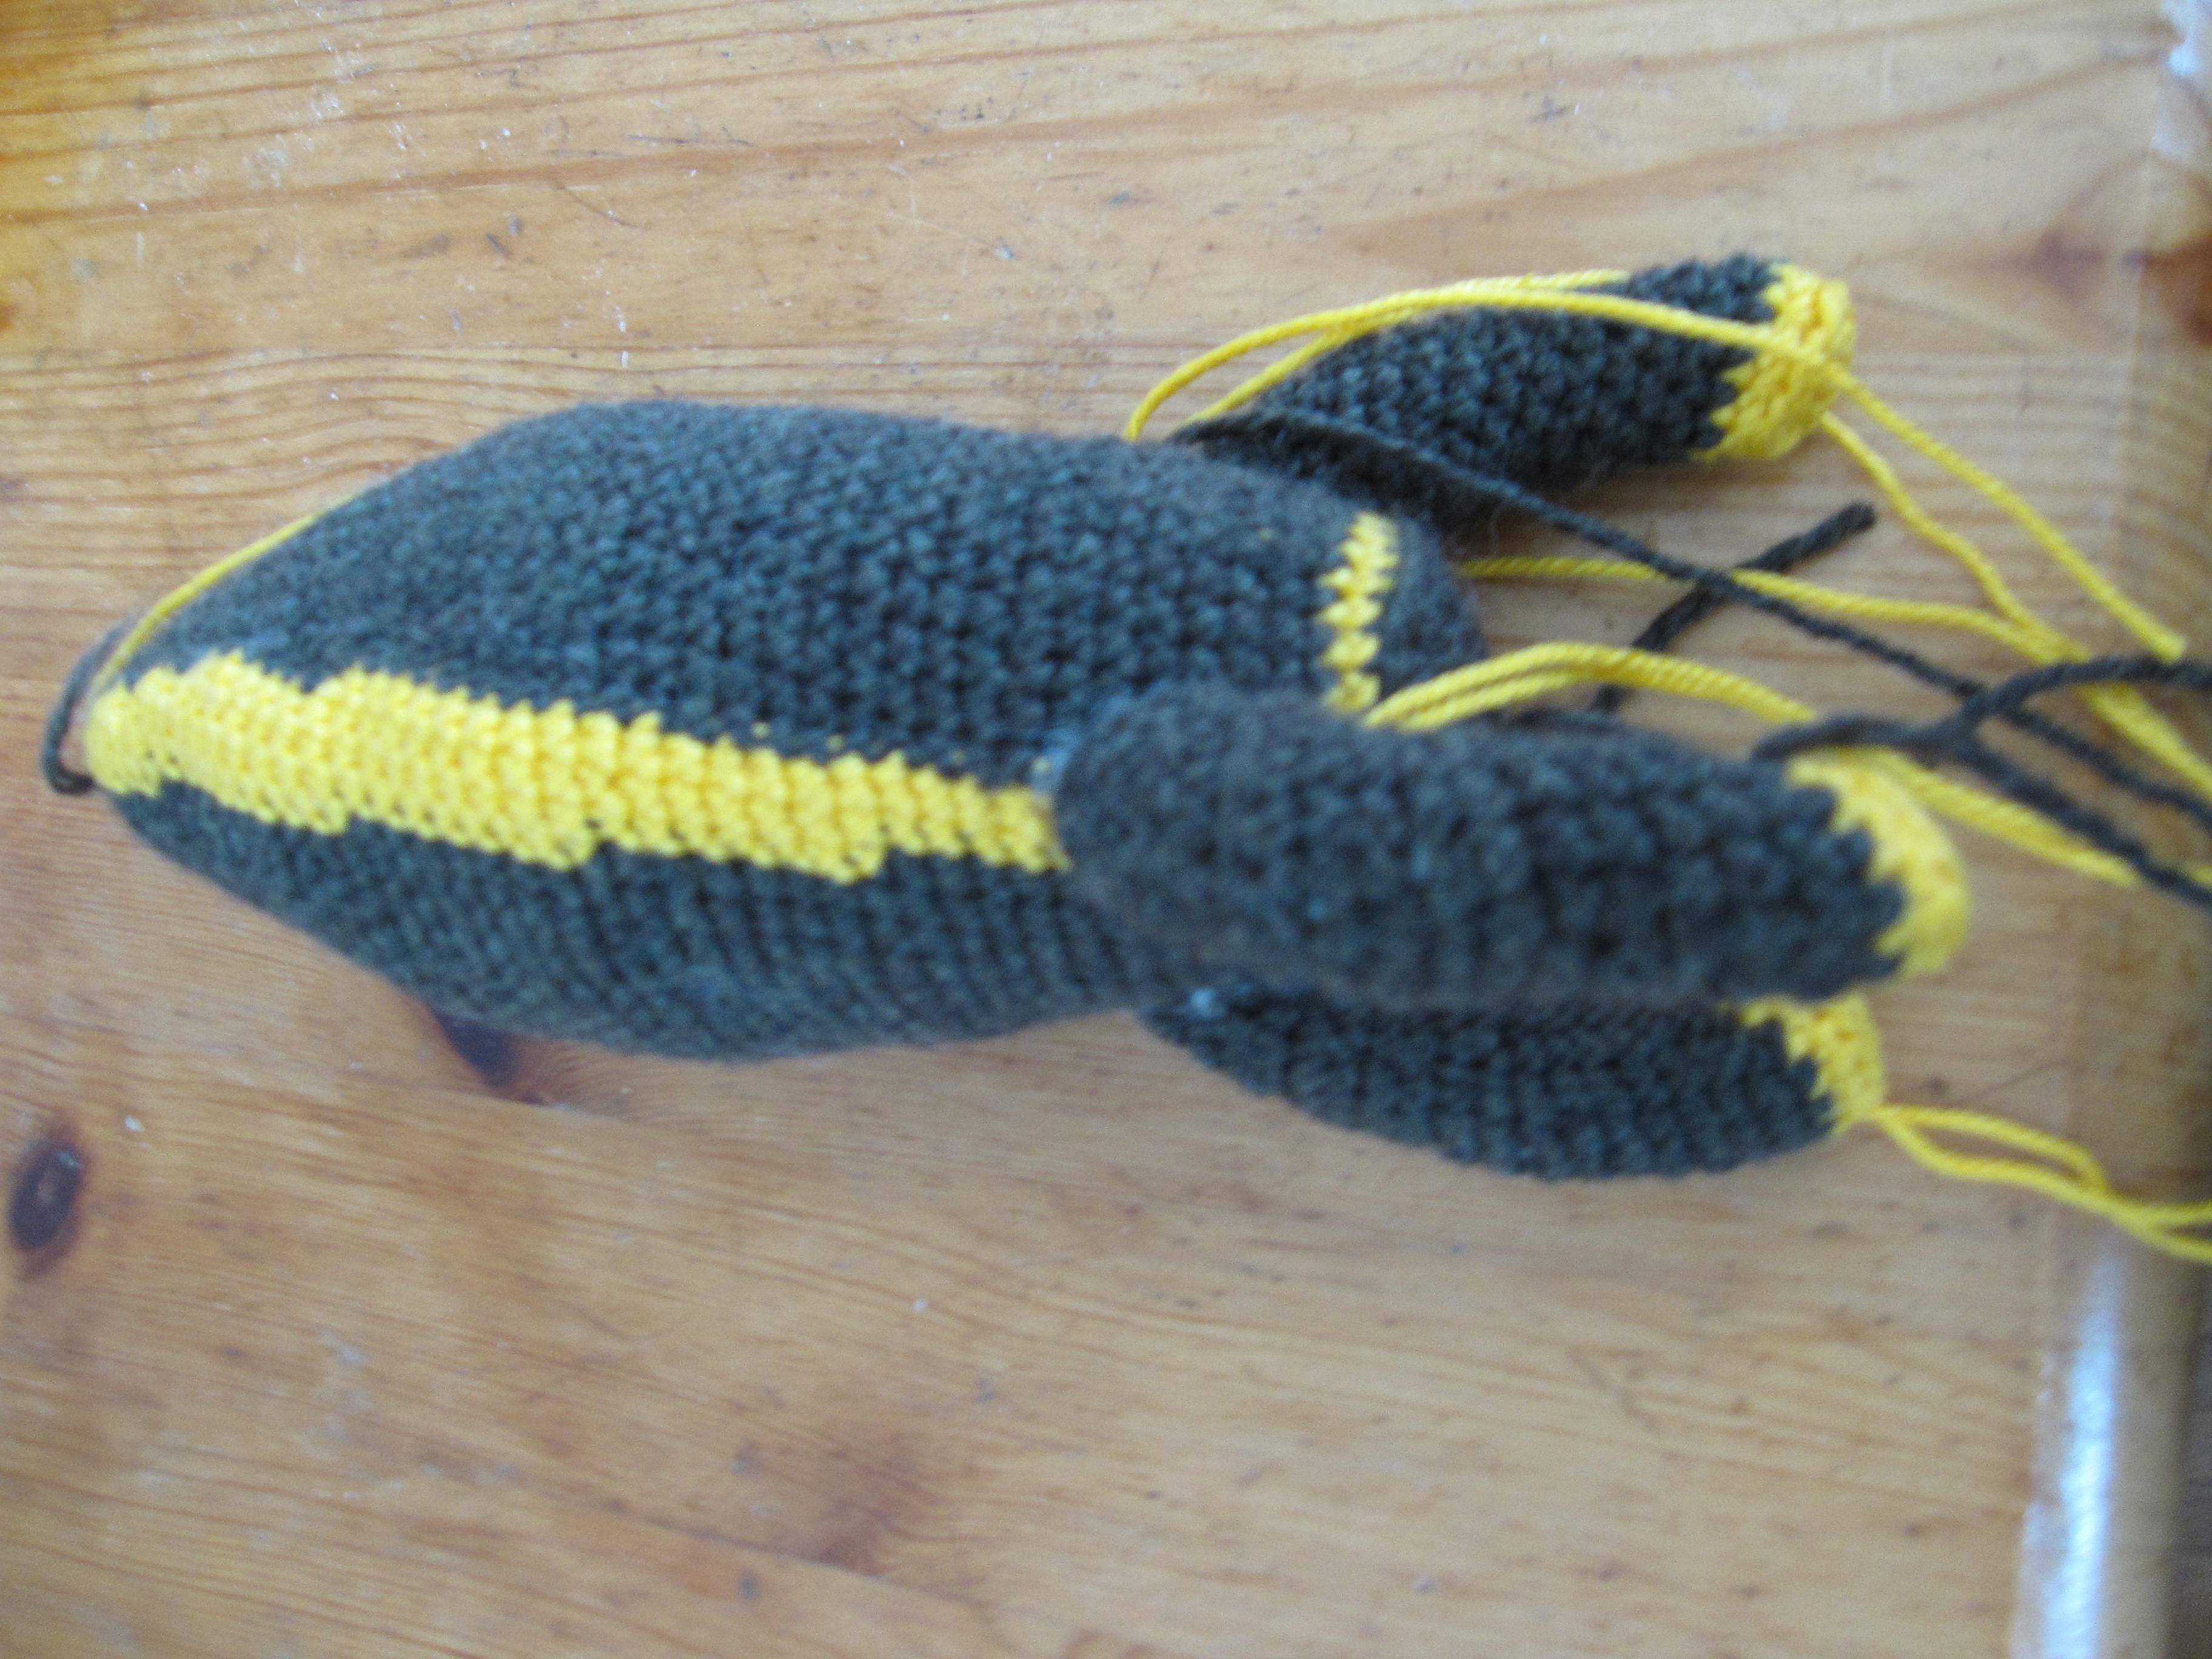
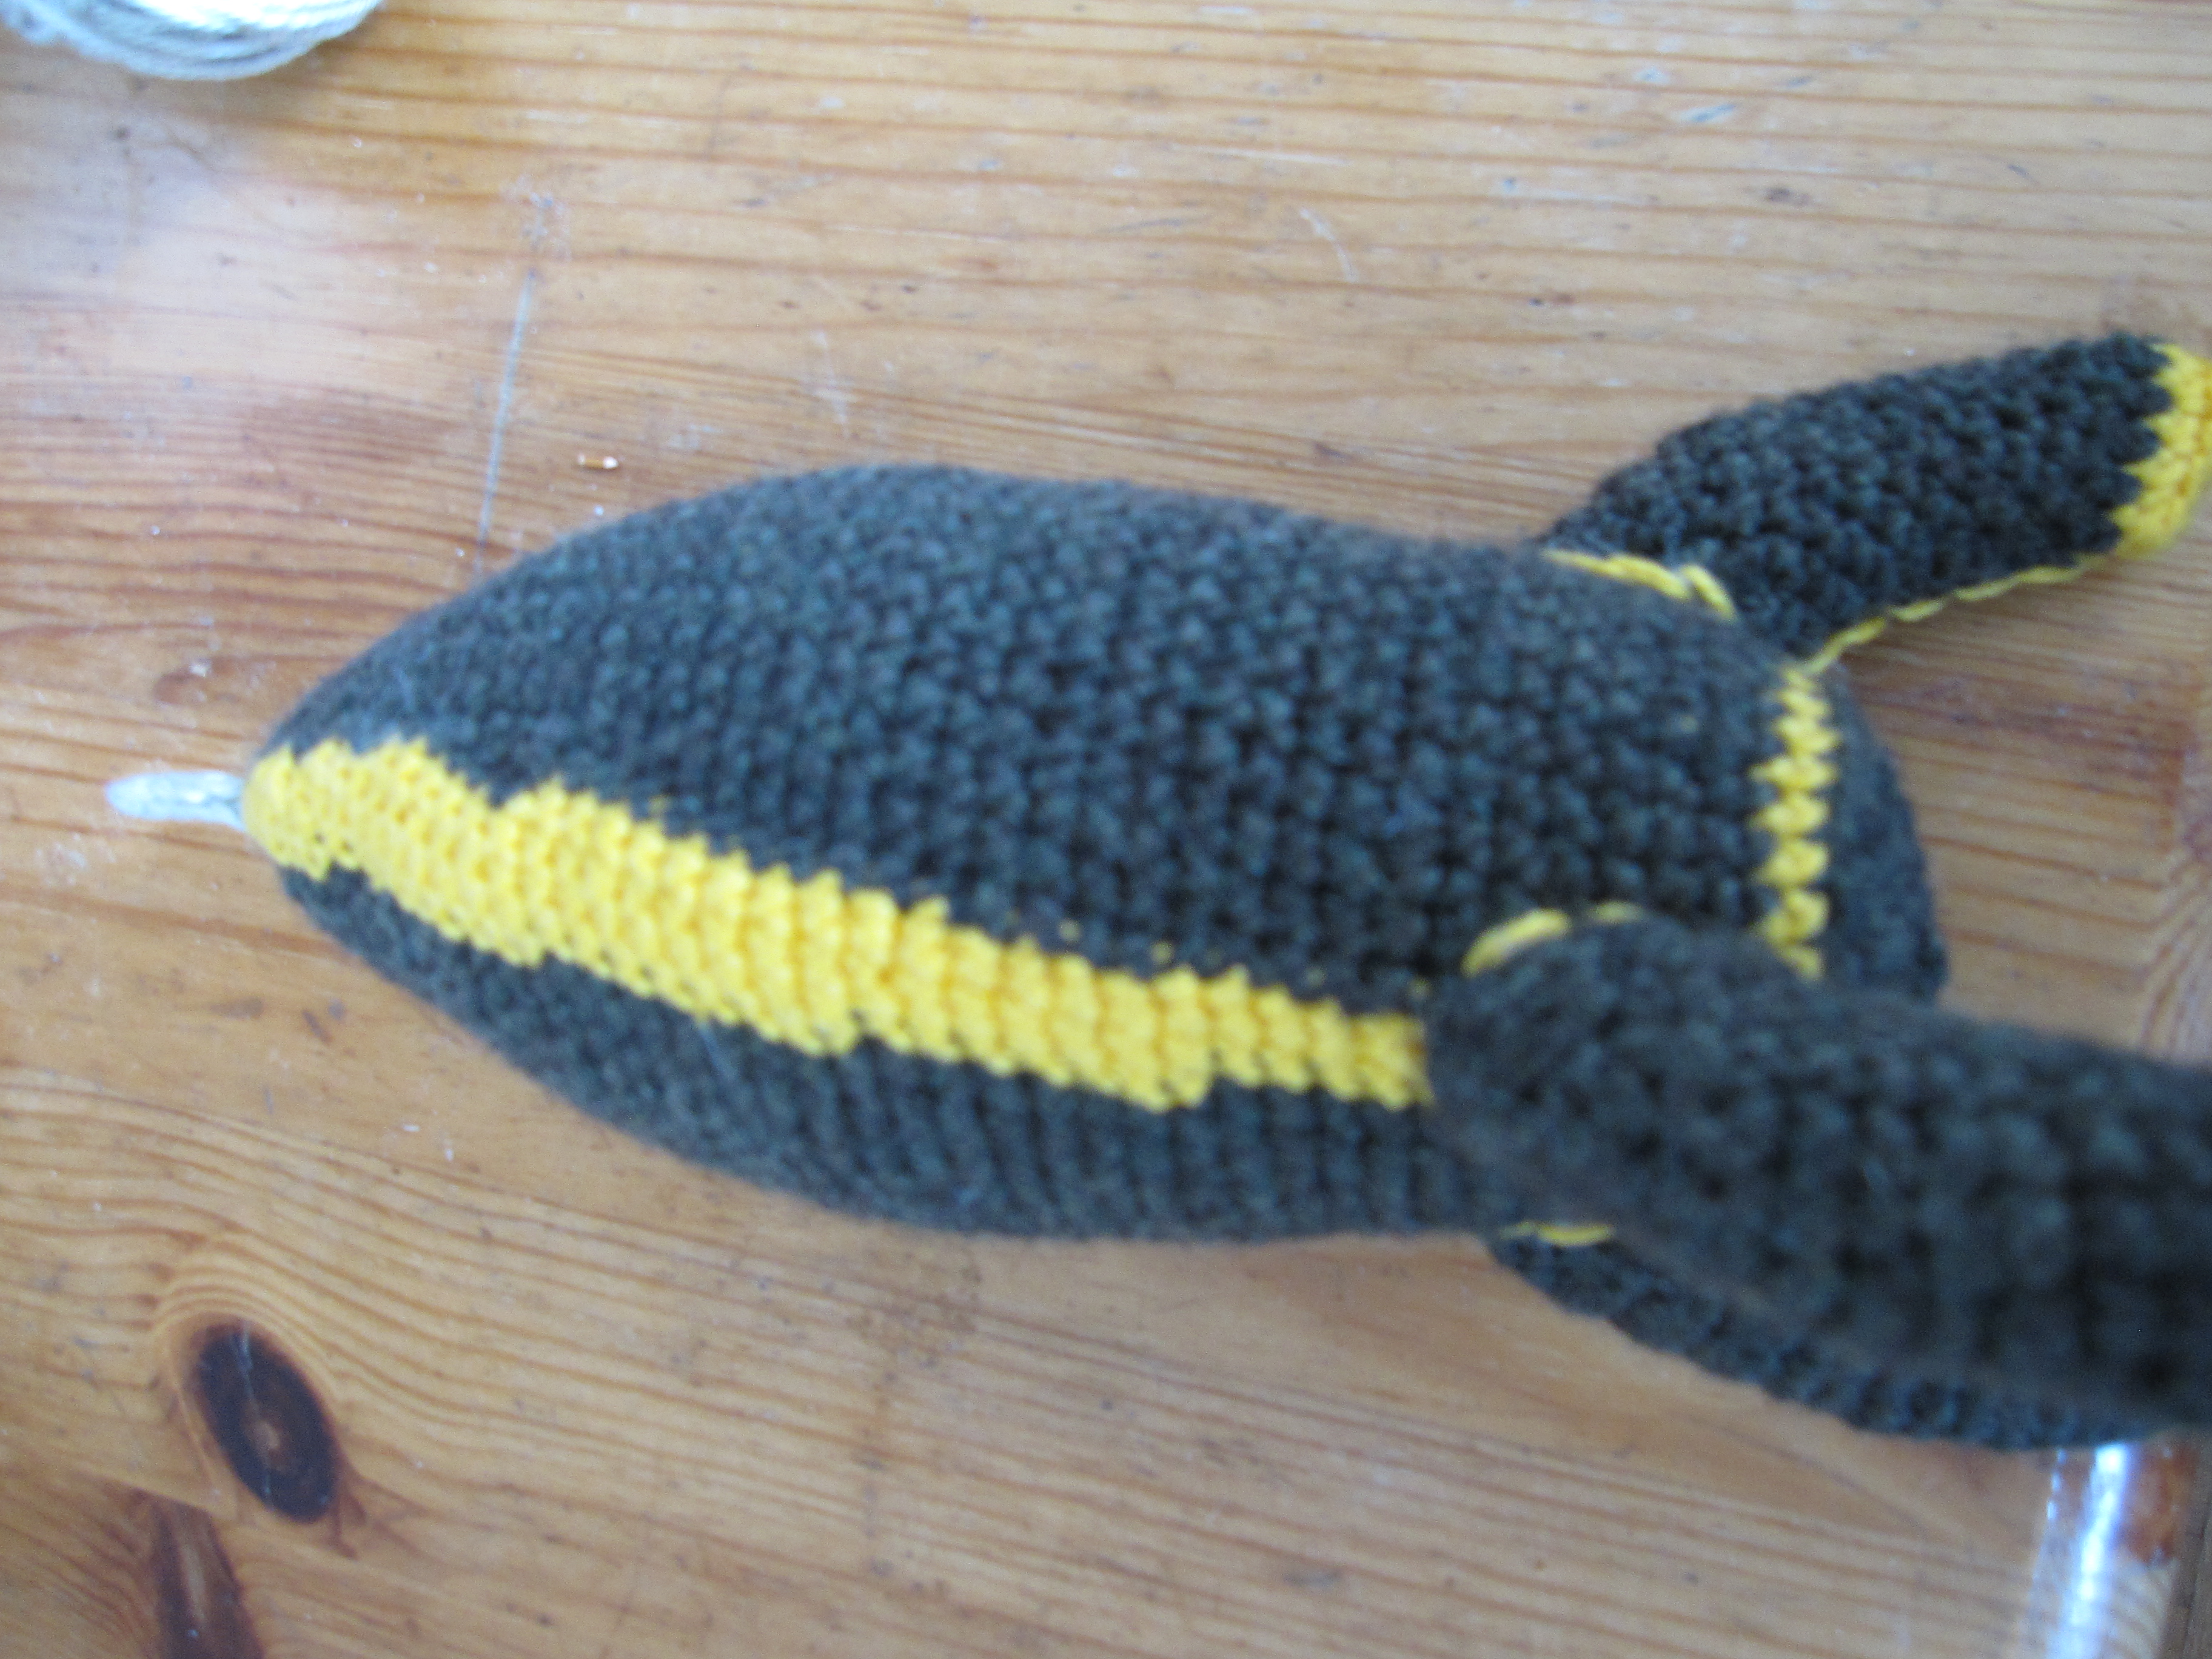
After crocheting some androids after the easterhegg 2012 and tentacles at and after the GPN12, I wanted to try something on my own and did not find a crocheted fairydust rocket. I thought that this could not be that difficult so here is my prototype.
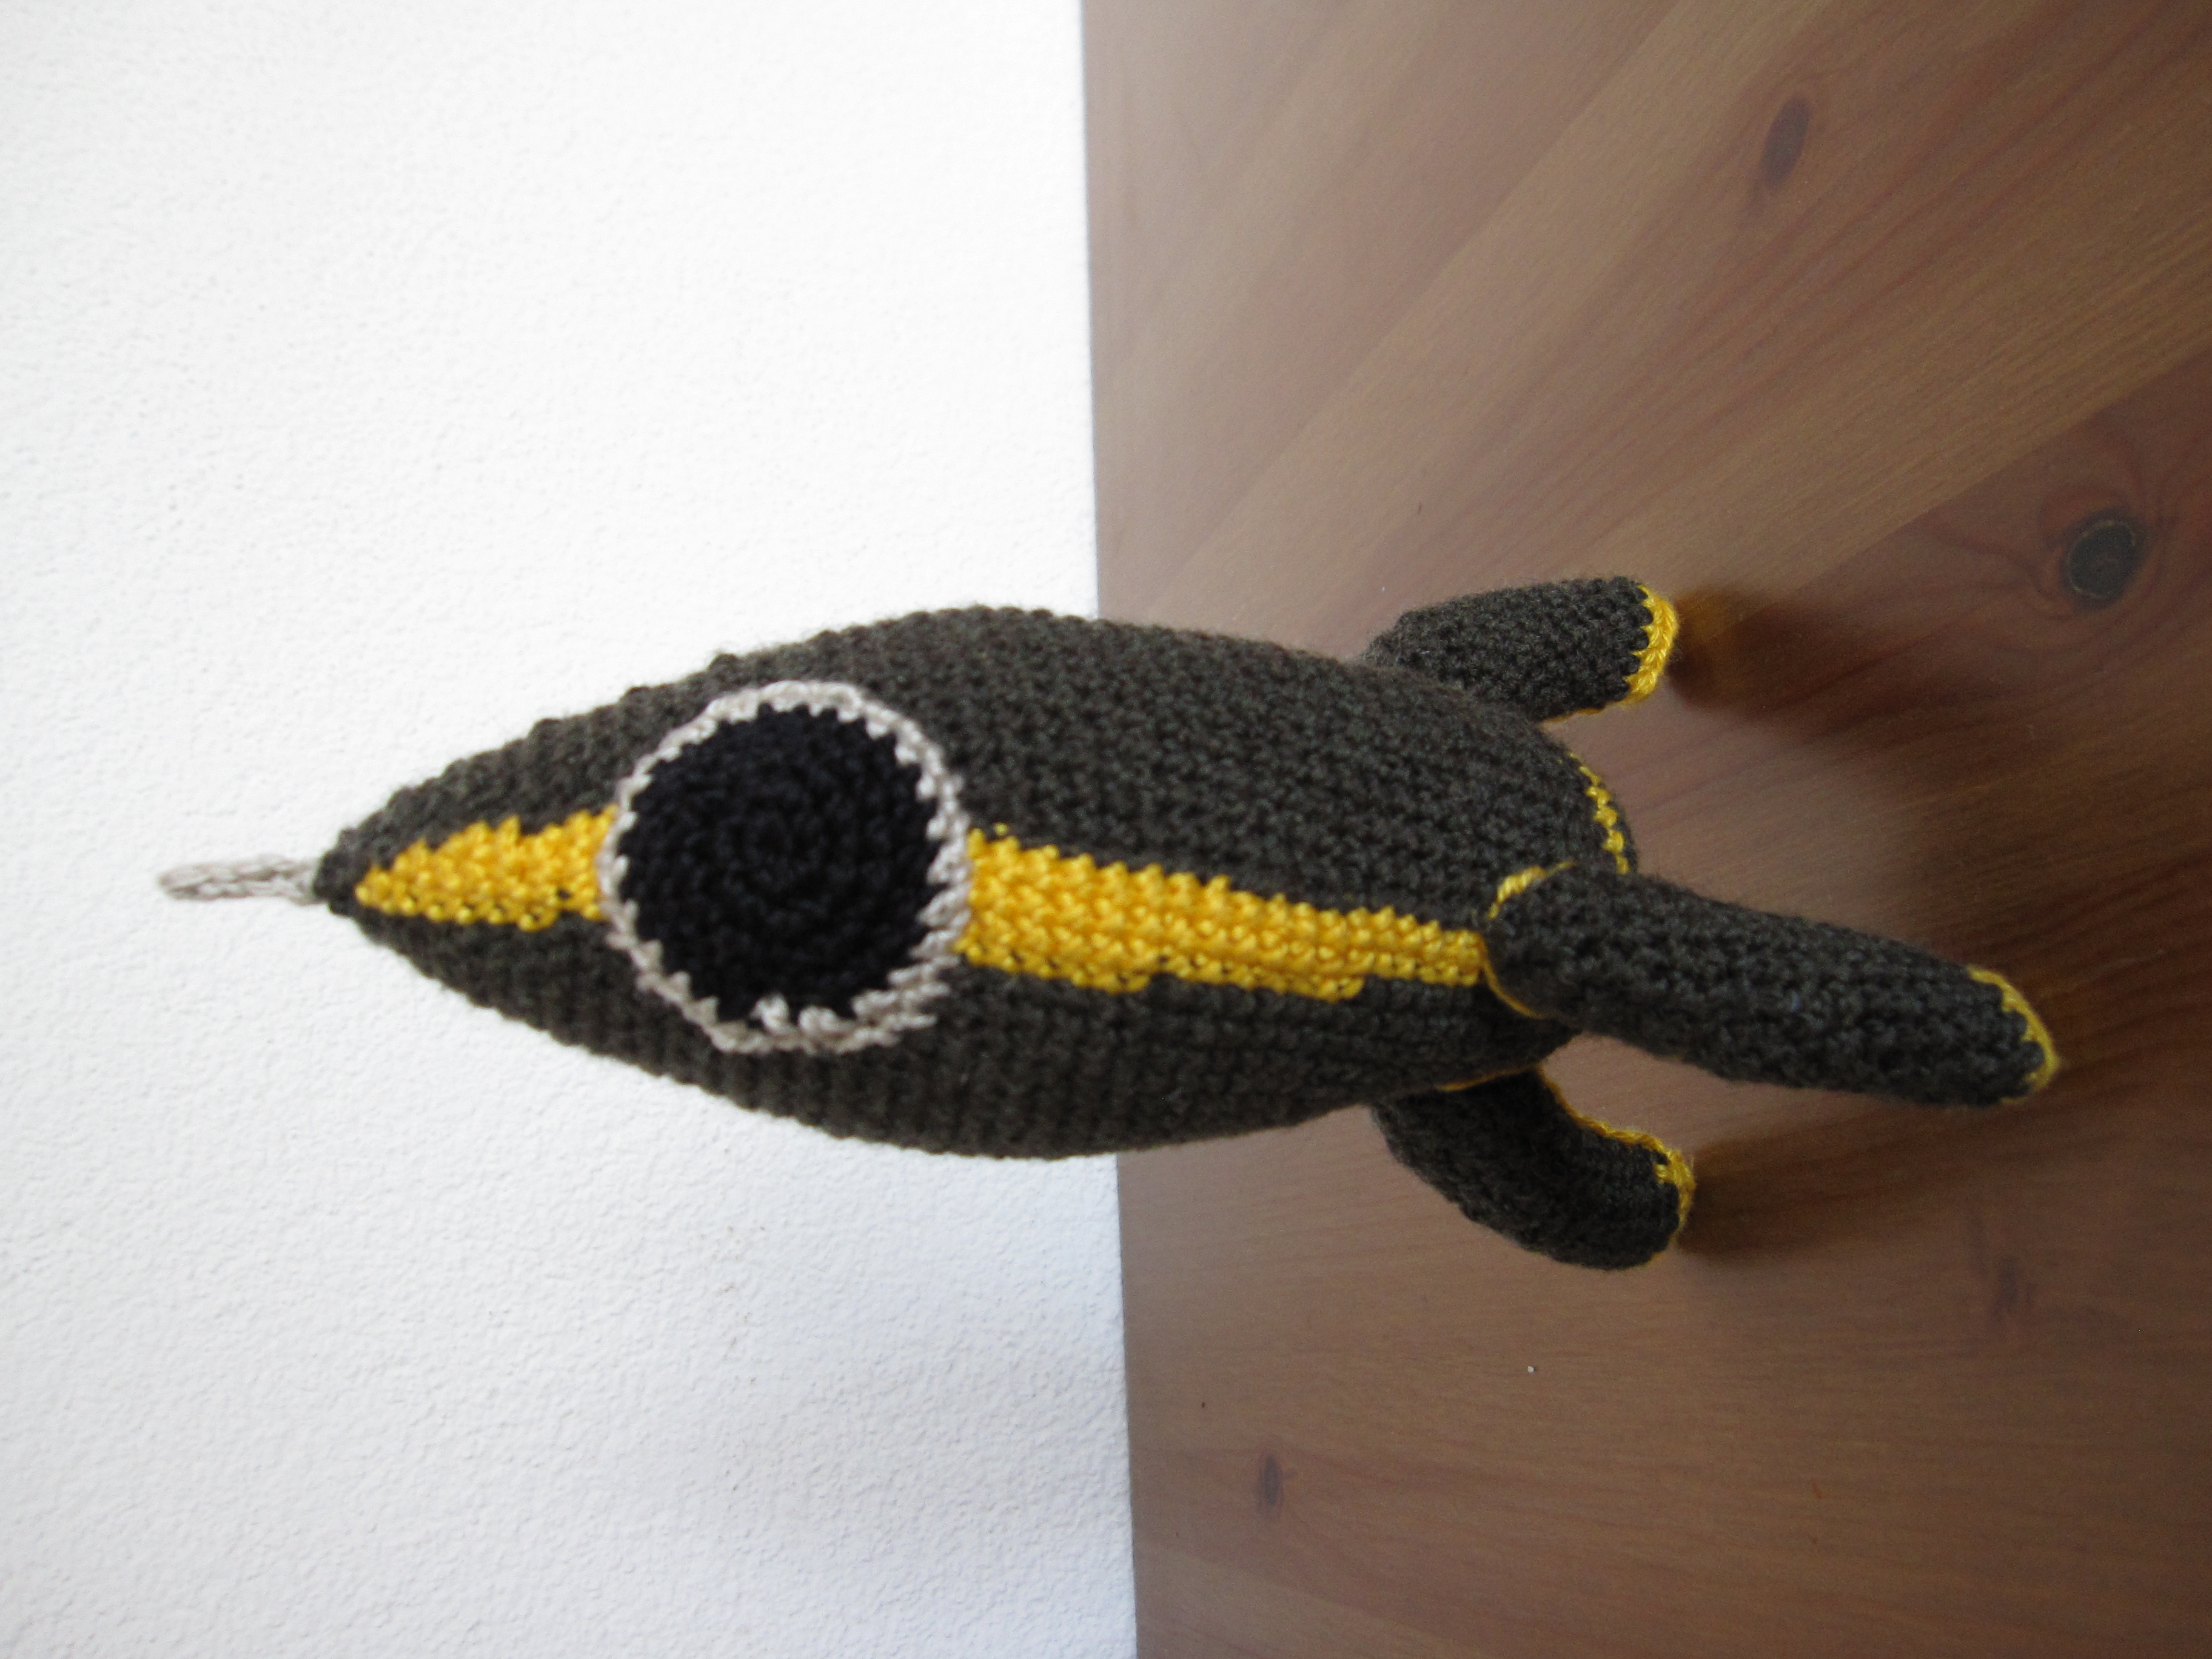
Improvements that might help
- The yellow stripe: Mine is not really straight, especially not in the upper part, that could be improved by shifting it every few rounds.
- The shape of the bull's eye: Starting it like the feet would lead to a visible change in the pattern or even holes in the middle of the bull's eye.
- Making the upper part rounder, this could be achieved with doing not always 2 lines with the same number of stitches after a decrement but sometimes just doing one.
I would love to see your pictures and also your improvements to the pattern.
What you need:
- Yarn:
- Dark green
- Yellow
- Scrap amount white (or light gray) for the window frame and the antenna
- Scrap amount black
- Stuffing (polyfill)
- wire to give it more stability (inside the legs)
- Tools:
- Crochet hook (I used 2.5mm)
- Yarn needle
Color changes
Color changes are used quite often: Start with the last stitch before the color changes, and then, when you do the last yarn over for the stitch (the yarn that will stay on the hook), already use the the new color. Do the same when you go back to the starting color. For a more detailed explanation, have a look at this tutorial.
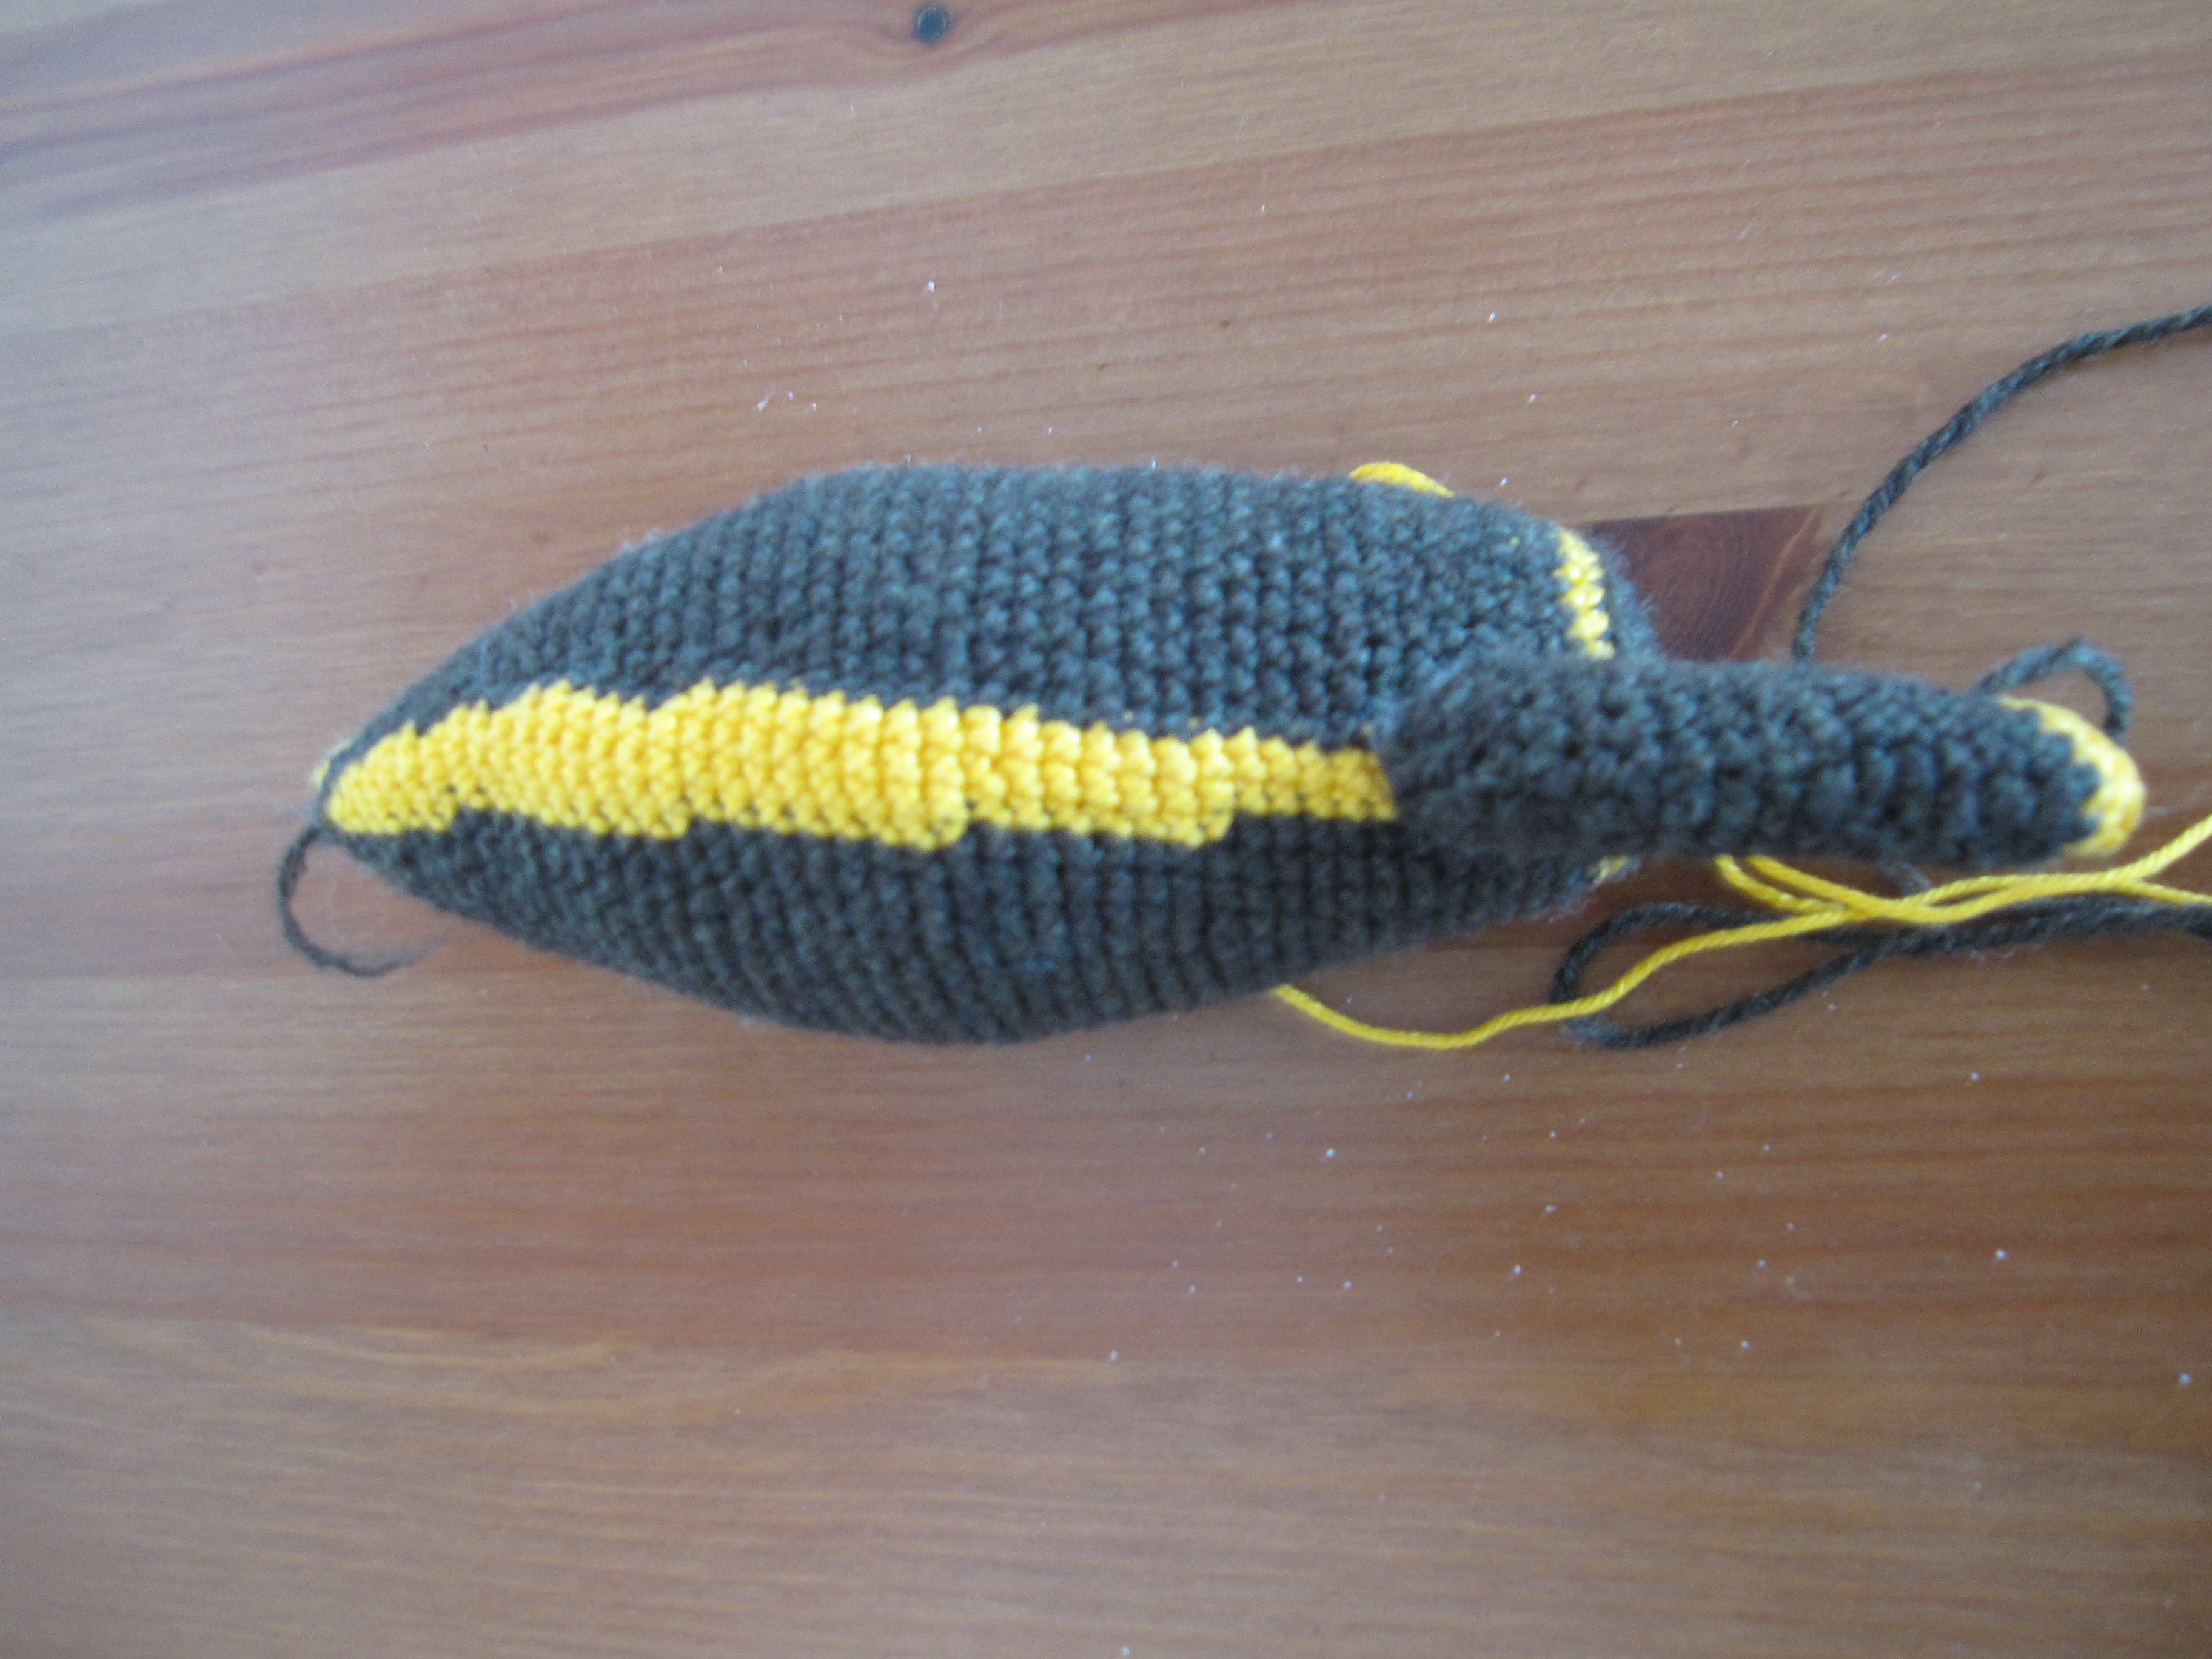
Rocket Body:
Note: The stripe might need to be shifted, look at it and add a stitch more with the old color before changing to yellow if you think it is necessary. Each increment will appear on the other side than the drift but this might not be enough.
Color changes are used for the whole Row 6 and then in each row for a few stitches. Don't cut the yarn, just carry it along as it will never be for more than 4 stitches.
Start stuffing around row 39, add more stuffing as you progress.
- Row 1: 6sc in loop, tighten
- Row 2: 2sc in each around (12)
- Row 3: 2sc, sc, repeat around (18)
- Row 4: 2sc, sc, sc, repeat around (24)
- Row 5: 2sc, sc, sc, sc, repeat around (sl st in last with color change to yellow) (30)
- Row 6: sc bl around (30)
- Row 7: 2sc (color change in second), sc, sc, sc, sc, repeat around (color change in last) (36)
- Row 8-11: sc around (color change in second and back in last) (36)
- Row 12: 2sc (color change in second), sc, sc, sc, sc, sc, repeat around (color change in last) (42)
- Row 13-17: sc around (color change in second and back in last) (42)
- Row 18: 2sc, sc, sc, sc, sc, sc, sc repeat around (color change in thirth and color change in last) (48)
- Row 19-24: sc around (color change in third and back in last) (48)
- Row 25: 2sc, sc, sc, sc, sc, sc, sc, sc, repeat around (color change in forth and color change in last) (54)
- Row 26-29: sc, repeat around (color change in forth and back in last) (54)
- Row 30: sc 2tog, sc, sc, sc, sc, sc, sc, sc repeat around (color change in forth and color change in last) (48)
- Row 31-32: sc around repeat around (color change in forth and color change in last) (48)
- Row 33: sc 2tog, sc, sc, sc, sc, sc, sc repeat around (color change in forth and color change in last) (42)
- Row 34-35: sc around repeat around (color change in forth and color change in last) (42)
- Row 36: sc 2tog, sc, sc, sc, sc, sc repeat around (color change in forth and color change in last) (36)
- Row 37-38: sc around repeat around (color change in forth and color change in last) (36)
- Row 39: sc 2tog, sc, sc, sc, sc repeat around (color change in forth and color change in last) (30)
- Row 40-41: sc around repeat around (color change in forth and color change in last) (30)
- Row 42: sc 2tog, sc, sc, sc repeat around (color change in third and color change in last) (24)
- Row 43-44: sc around repeat around (color change in third and color change in last) (24)
- Row 45: sc 2tog, sc, sc repeat around (color change in third and color change in last) (18)
- Row 46-47: sc around repeat around (color change in third and color change in last) (18)
- Row 48: sc 2tog, sc, repeat around (color change in second and color change in last) (12)
- Row 49-50: sc around repeat around (color change in second and color change in last) (12)
- Row 51: sc 2tog, repeat around (color change in first and color change in last) (6)
- Row 52: sc around repeat around (color change in first) (6)
- Row 53: sc 2tog, repeat around (3)
- Row 54: Finish up
Window:
- Row 1: 6sc in loop, tighten
- Row 2: 2sc, sc, repeat around (12)
- Row 3: 2sc, 2sc, 4 * sc in each, repeat around (16)
- Row 4: 2sc, 2sc, 6 * sc in each, repeat around (20)
- Row 5: 2sc, 2sc, 8 * sc in each, repeat around (color change in last) (24)
- Row 6: (use the white yarn) 2sc, 2sc, 2sc, 12 * sc in each, repeat around (sl st in last) (30)
Legs (make 3):
Row 1 to 3 will be in yellow, afterwards use the green yarn. The inner yellow lines and the yellow around the the leg's joint to the rockets body will be stitched on later because there would be quite a lot of trouble creating a straight small line of yellow.
Maybe you have to shift the positions of the increasing and decreasing stitches by one or two. The increment should be at or slightly before the inside, the decrement at the outside.
Starting with row 14, it won't be real rows as we shift the work after each round. This leaves an opening. The last stitch in a row is not reworked after the leg is turned. This and the sc 2tog lead to a decrease of two stitches per row.
- Row 1: 4ch
- Row 2: ch, 4 * sc in each, 3sc, 3 * sc in each, 2sc (12)
- Row 3: sc bl around (12)
- Row 4: sl st (change color), 11 sc (12)
- Row 5: 2sc, 5 * sc in each, sc 2tog, 5sc (12)
- Row 6-8: sc, 2sc, 5 * sc in each, sc 2tog, 4 sc (12)
- Row 9: sc, 2 sc, 10 * sc in each (13)
- Row 10: 2 * sc in each, 2sc, 5 * sc in each, sc 2tog, 3 * sc in each (13)
- Row 11: 3 * sc in each, 2sc, 4 * sc in each, sc 2tog, 3 * sc in each (13)
- Row 12: 3 * sc in each, 2sc, 9 * 1 sc in each (14)
- Row 13: 5 * sc in each, 2sc, 5 * sc in each, sc 2tog, sc (14)
- Row 14: 6 * sc in each (6), change direction after each row from now on
- Row 15: 14 * sc in each, do not connect (14)
- Row 16: 6 * sc in each, sc 2tog, 5 * sc in each (12)
- Row 17: 4 * sc in each, sc 2tog, 5 * sc in each (10)
- Row 18: 4 * sc in each, sc 2tog, 3 * sc in each (8)
- Row 19: 2 * sc in each, sc 2tog, 3 * sc in each (6)
- Row 20: 2 * sc in each, sc 2tog, 1 * sc in each (4)
- Row 21: sc 2tog, sc (2)
- Row 22: sc 2tog (1)
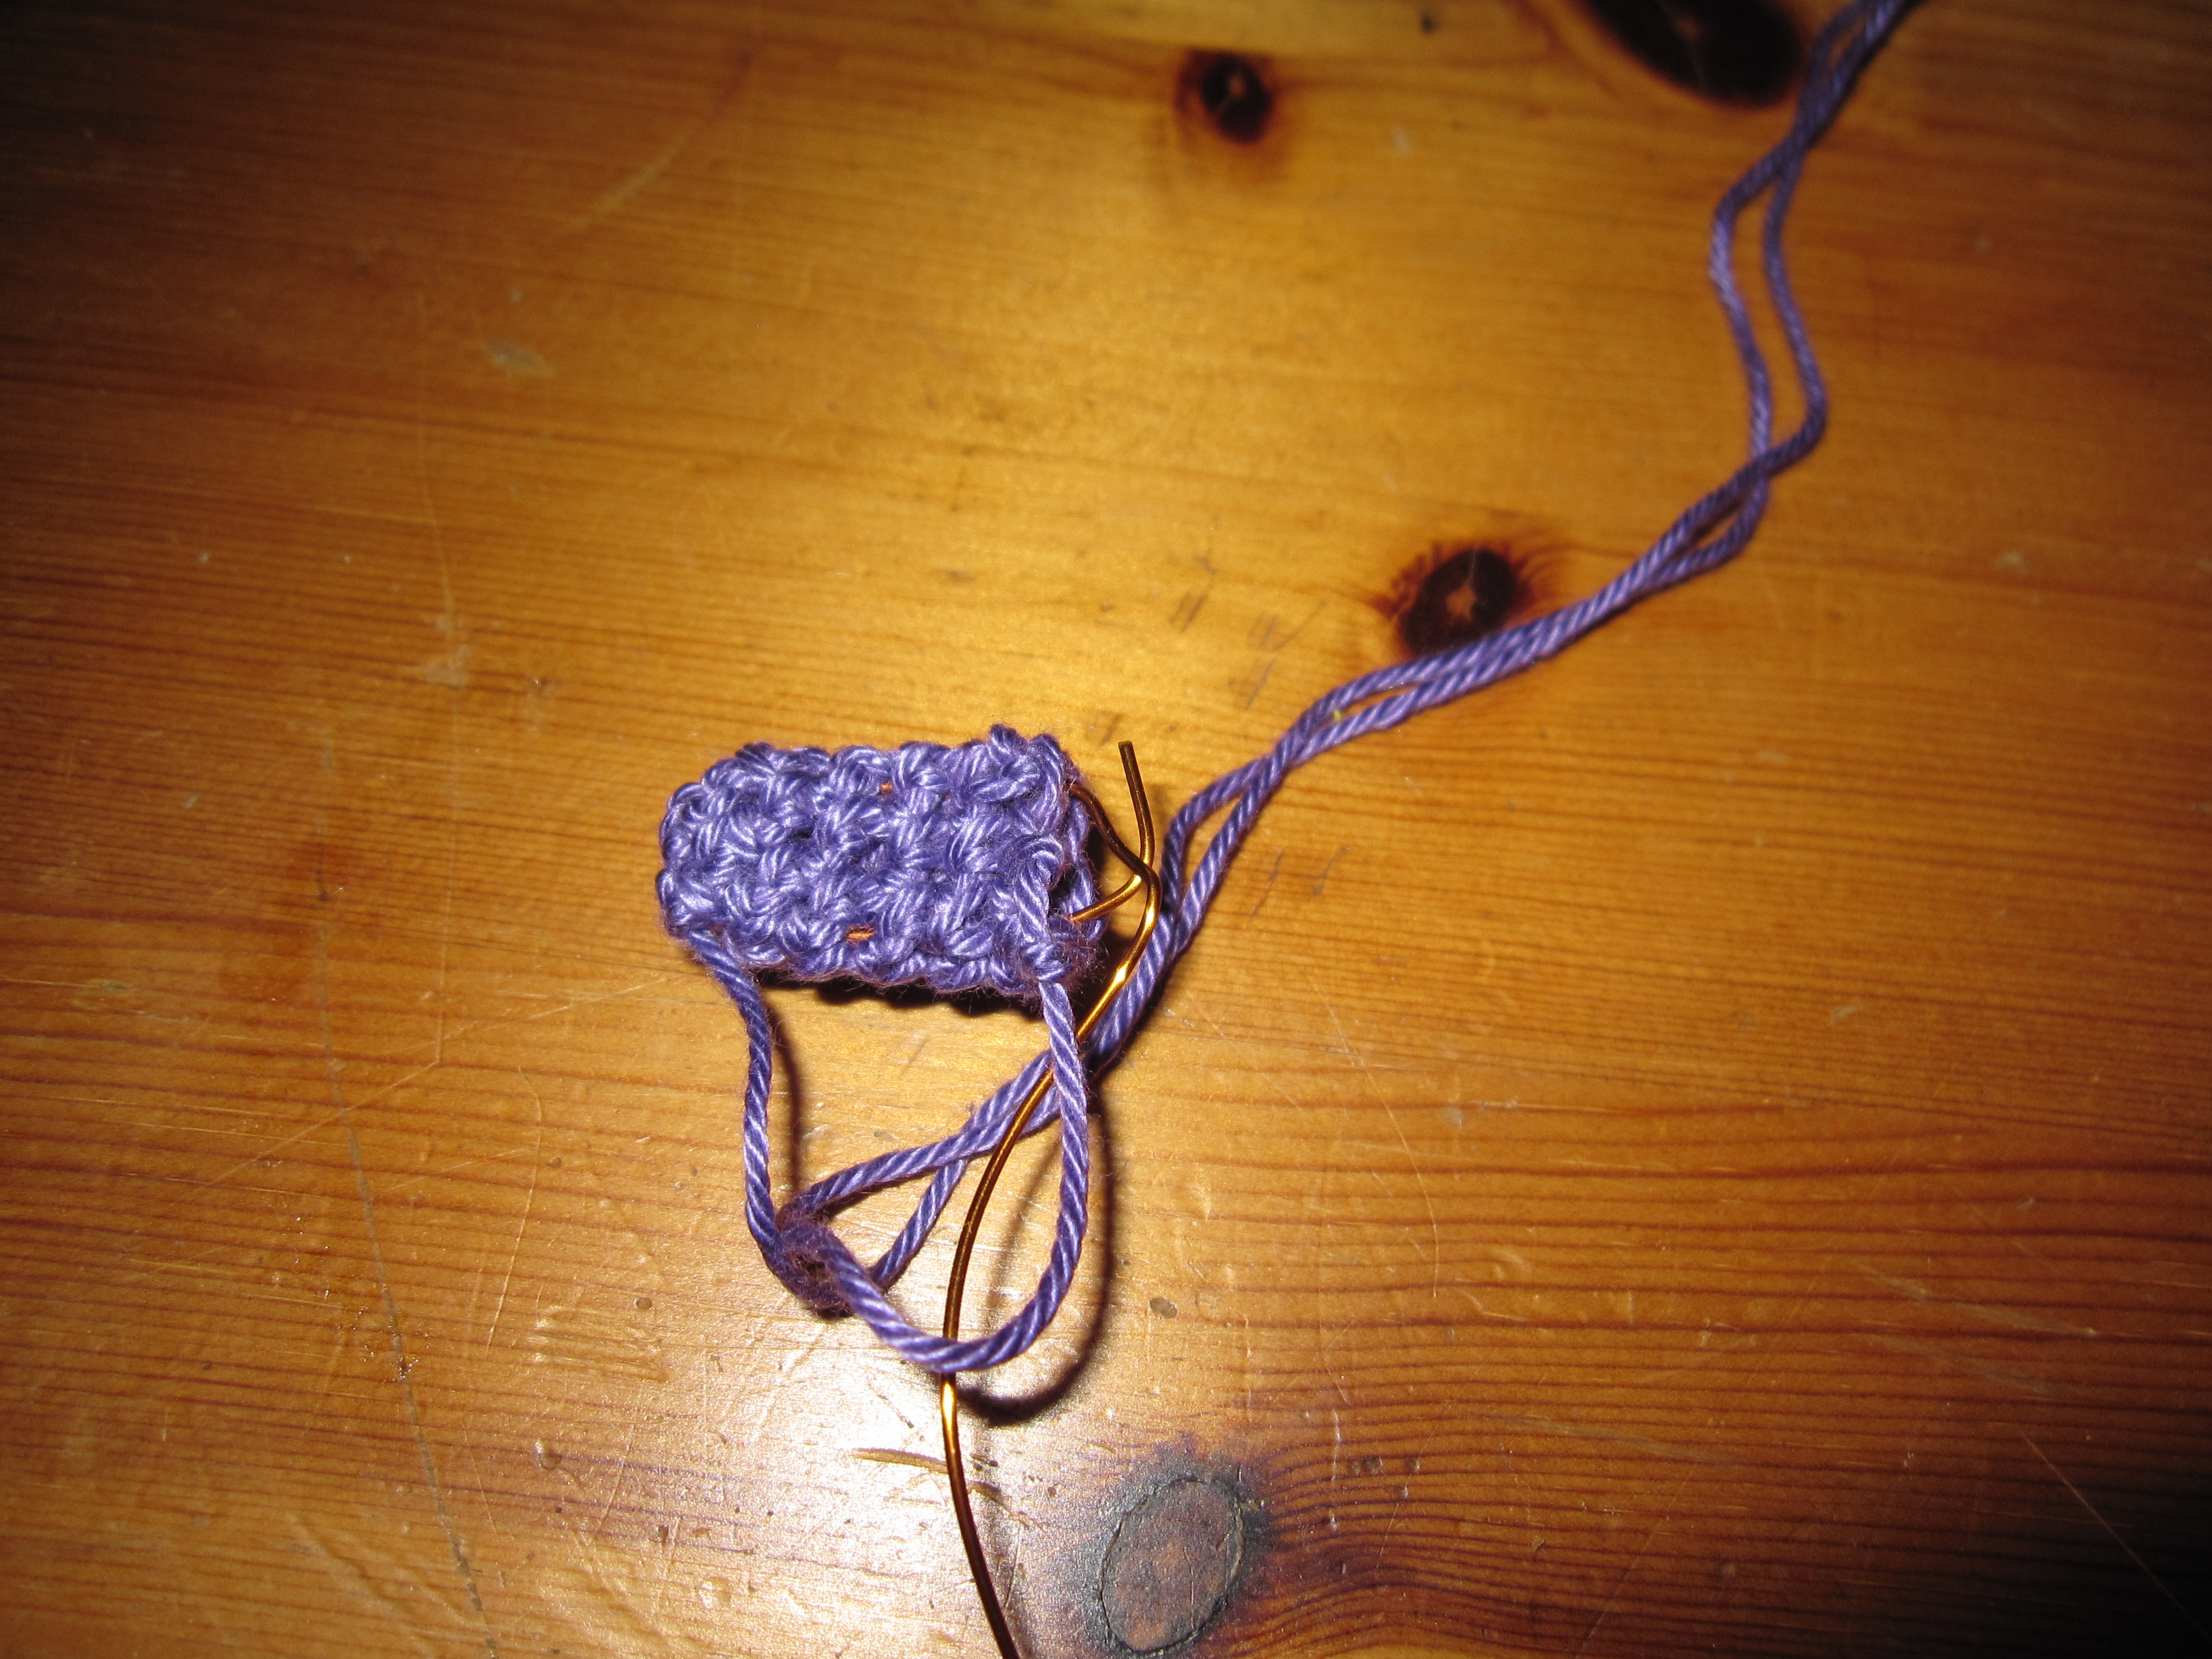
Make a small U shape with the wire with a size of about the size of the leg and put it inside.
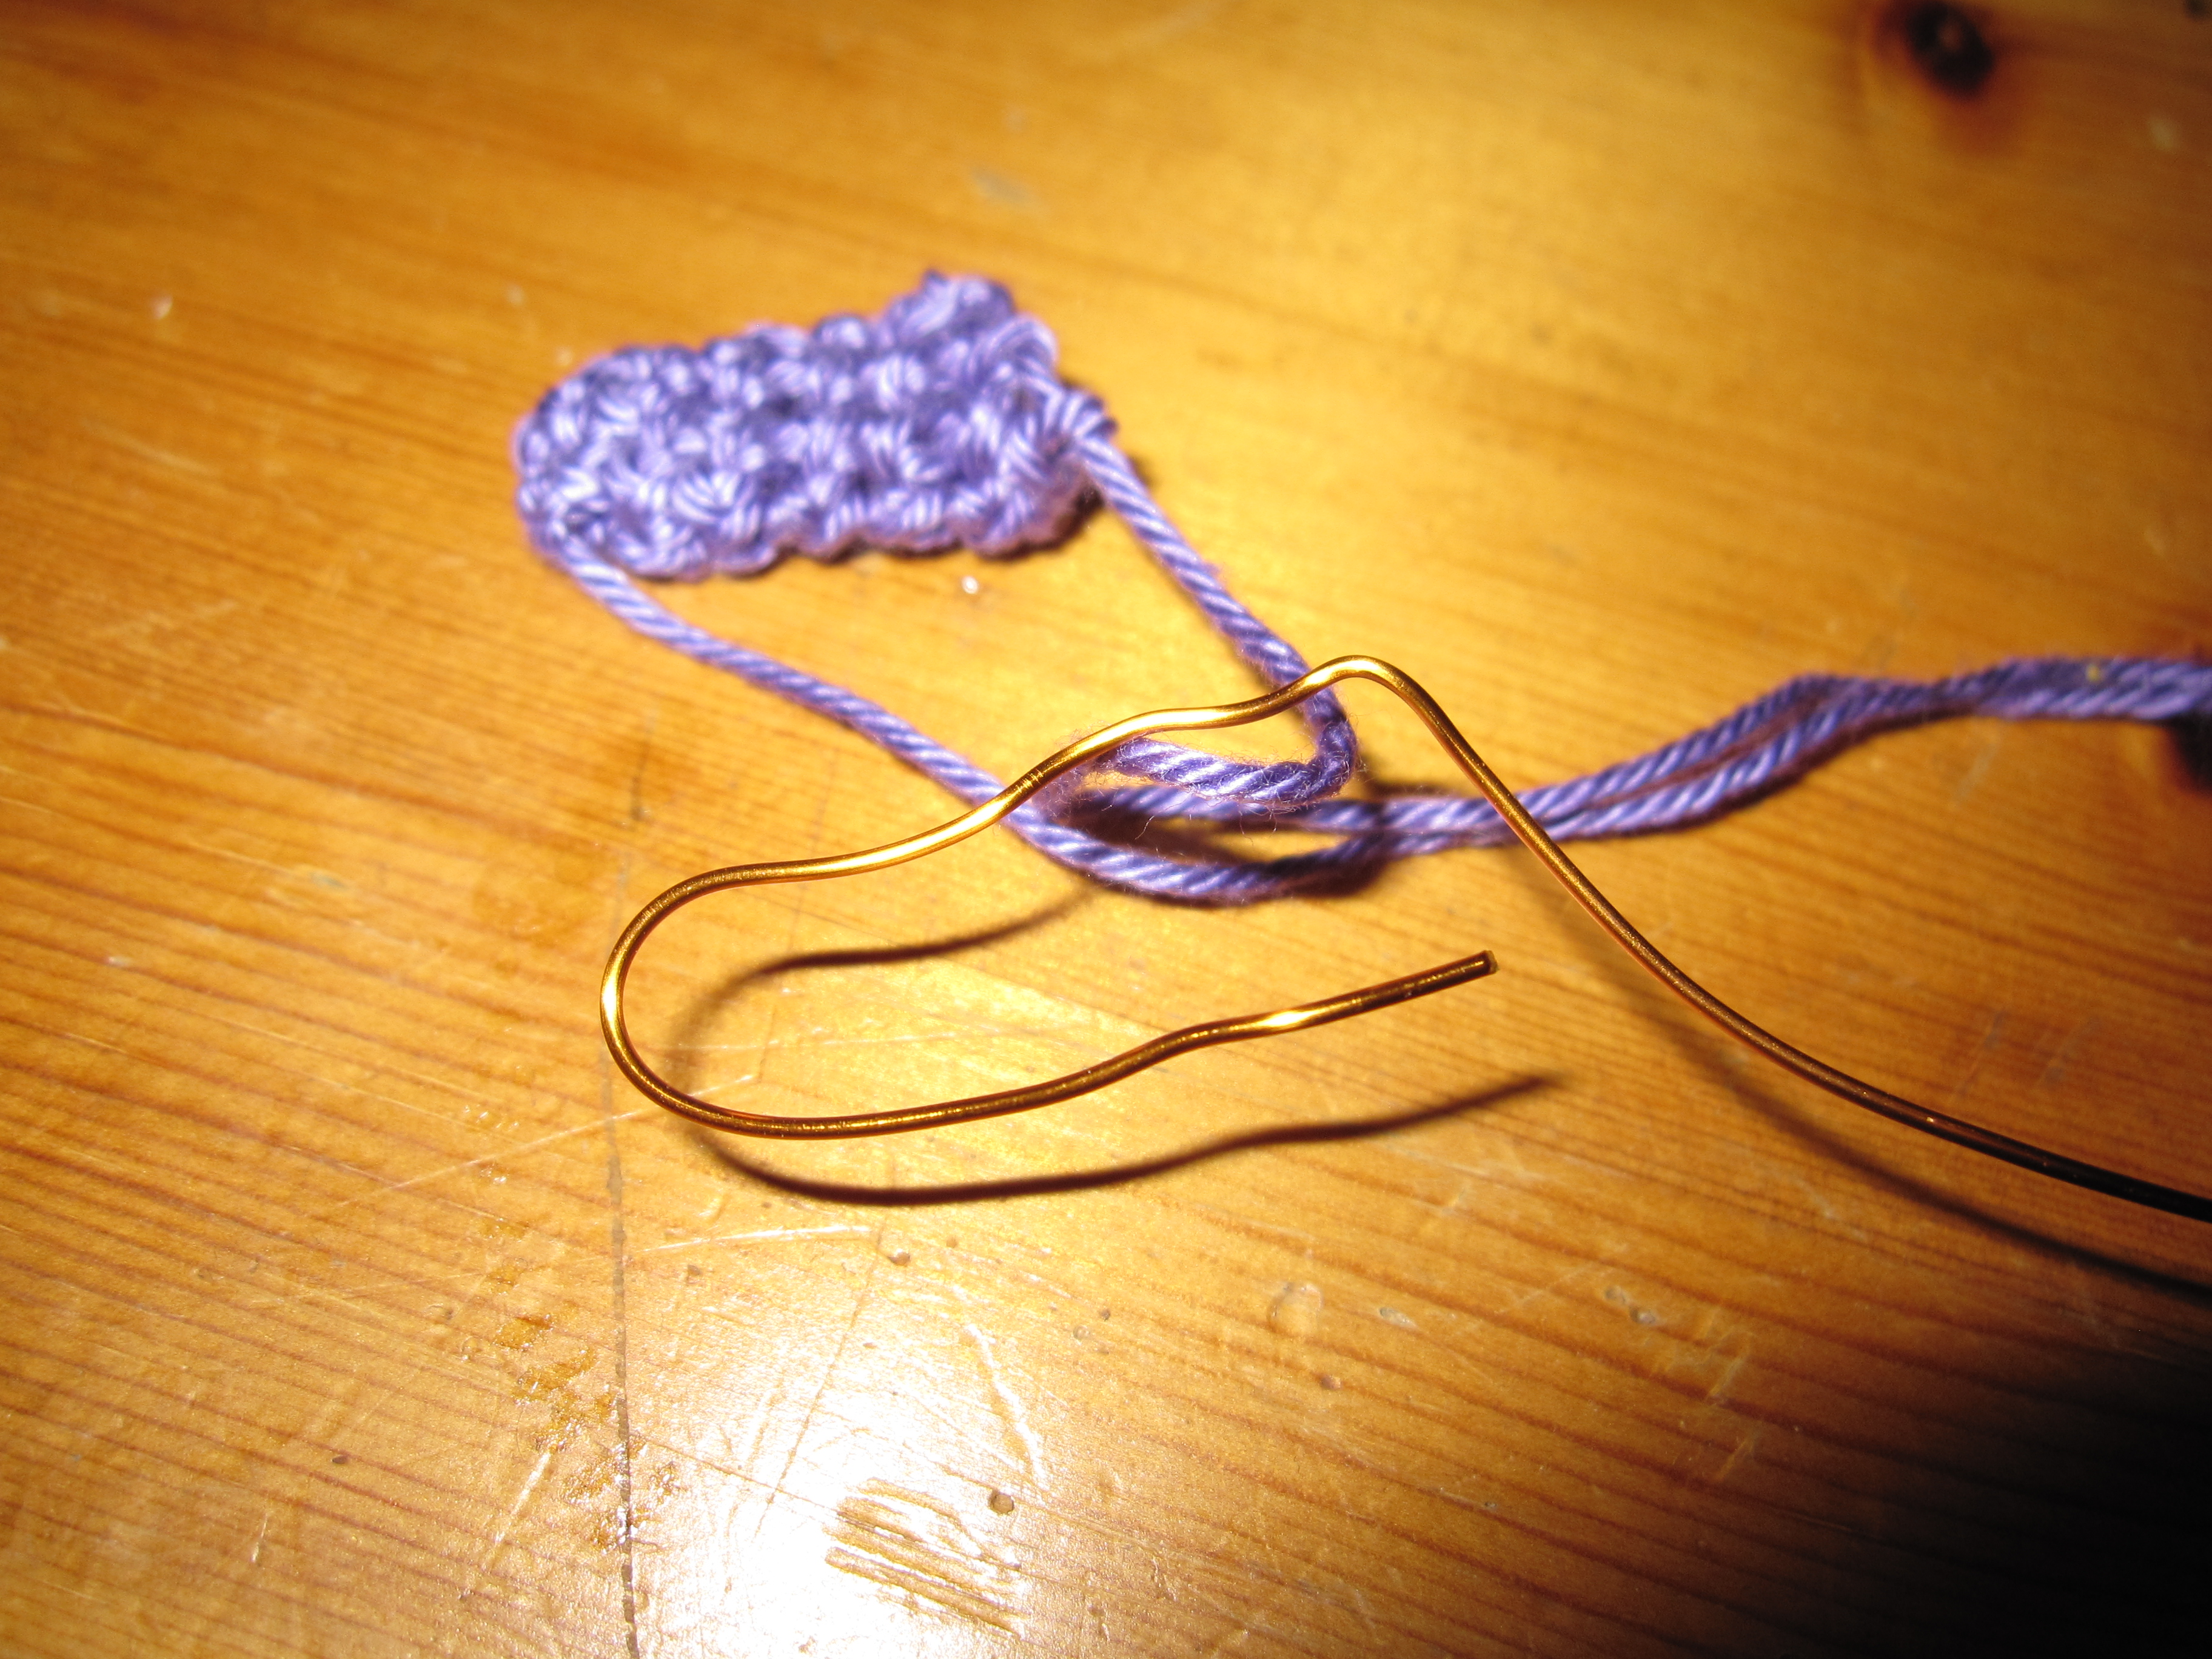
Leave a bit of extra wire. Then stuff it with the polyfill. Bend the extra wire to the inside to avoid being hurt by sharp edges.
Antenna:
The antenna does not need to be sewed to the body as it is started directly connected to the body.
- Row 1: Thread through top, 4ch
- Row 2: 1ch, sl st in 4th, 3th, 2nd and 1st
Putting it together
Sew the legs to the body. The first leg has to be aligned with the yellow stripe.
Sew the two other legs equally around.
Sew the yarn ends and hide them inside the body.
Sew the window to the rocket body. It has to be sewed above the middle of the rocket body with the yellow stripe in the middle. Before finishing, add a bit of stuffing behind the window.
Stitch a yellow stripe to the inside of each leg and also around the connection of the legs to the body.
Kommentare
Medusa
schrieb am